Accurate measurements are the backbone of any successful woodworking project. Whether you’re crafting a simple shelf or a complex piece of furniture, precision is key. A small error in measurement can lead to significant issues down the line, such as misaligned joints or pieces that simply won’t fit together.
This is particularly true in woodworking, where the materials themselves can be unforgiving. A miscalculation can result in wasted time, resources, and even frustration. Therefore, understanding the importance of accurate measurements is not just a good practice; it’s essential for achieving the desired outcome in your projects.
Moreover, accurate measurements contribute to the overall quality and durability of your work. When pieces fit together seamlessly, they not only look better but also perform better. For instance, a well-measured joint will be stronger and more stable, ensuring that your furniture stands the test of time.
As you embark on your woodworking journey, remember that taking the time to measure accurately will pay off in the long run. It’s a skill that will enhance your craftsmanship and elevate your projects to a professional level.
Key Takeaways
- Accurate measurements are crucial for successful woodworking projects
- Choosing the right tools, such as tape measures and combination squares, is essential for precision
- Using a tape measure effectively involves ensuring it is straight and taut for accurate readings
- Mastering the art of using a marking gauge is important for consistent and precise marking on wood
- Taking into account wood grain and texture when marking helps to ensure accurate cuts and joinery
Choosing the right tools for the job
Selecting the right tools is crucial for achieving accurate measurements in woodworking. The market is flooded with various measuring and marking tools, each designed for specific tasks. From tape measures to calipers, understanding which tool to use in different scenarios can make a significant difference in your work.
For instance, while a tape measure is excellent for longer distances, a caliper might be more suitable for measuring smaller dimensions with greater precision. Knowing the strengths and limitations of each tool will empower you to make informed decisions that enhance your accuracy. Additionally, investing in high-quality tools can greatly improve your measuring experience.
Cheap tools may seem appealing at first, but they often lack the precision and durability needed for serious woodworking. A reliable tape measure with clear markings and a sturdy casing will serve you better than a flimsy one that bends or breaks easily. Similarly, a well-crafted combination square can provide you with the accuracy needed for precise angles and measurements.
By choosing the right tools, you set yourself up for success and ensure that your projects are built on a solid foundation of accuracy.
Using a tape measure effectively

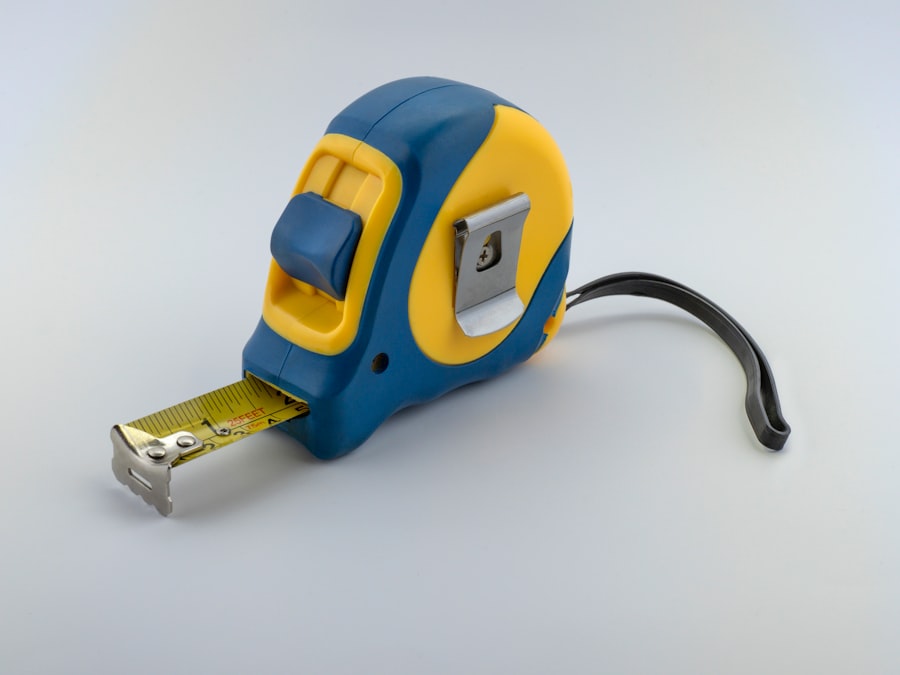
Using a tape measure might seem straightforward, but there are techniques that can enhance your accuracy and efficiency. First and foremost, always ensure that the tape measure is fully extended and straight when taking measurements. A bent or twisted tape can lead to inaccurate readings, which can throw off your entire project.
Additionally, familiarize yourself with the markings on your tape measure. Most tape measures have both imperial and metric units, so knowing how to read both can be beneficial depending on your project requirements.
The hook is designed to account for its own thickness when measuring from an edge. When measuring from the inside of a corner, pull the tape measure until it touches the edge; when measuring from the outside, push it against the edge. This small adjustment can make a significant difference in ensuring that your measurements are spot-on.
By mastering these techniques, you’ll find that using a tape measure becomes second nature, allowing you to focus more on your creative process rather than worrying about inaccuracies.
Utilizing a combination square for precise marking
A combination square is an invaluable tool in any woodworker’s arsenal, especially when it comes to making precise markings and measurements. This versatile tool consists of a ruler and a movable arm that can be locked at various angles, making it perfect for checking both 90-degree and 45-degree angles. When using a combination square, start by ensuring that the ruler is clean and free from debris; this will help you achieve more accurate readings.
Place the square against the edge of your workpiece and use it as a guide for marking lines or checking angles. One of the most effective ways to utilize a combination square is by marking out cut lines on your wood. By aligning the square with your desired measurement and drawing along its edge, you create a straight line that serves as a guide for cutting.
This technique not only improves accuracy but also enhances the overall quality of your cuts. Additionally, using a combination square allows you to double-check angles before making cuts, ensuring that everything aligns perfectly. With practice, this tool will become an essential part of your measuring routine.
Mastering the art of using a marking gauge
A marking gauge is another essential tool that can significantly improve your accuracy when working with wood. This tool allows you to create consistent lines parallel to an edge, which is particularly useful for tasks like laying out mortises or tenons. To use a marking gauge effectively, start by adjusting the distance between the point and the fence according to your desired measurement.
Once set, run the gauge along the edge of your workpiece to create a clean line. One common mistake when using a marking gauge is applying too much pressure while marking. This can lead to deep grooves that may affect the final appearance of your project.
Instead, use gentle pressure to create a light line that serves as a guide without damaging the wood’s surface. Additionally, practice using the gauge on scrap wood before working on your actual project; this will help you get comfortable with its operation and ensure that you achieve consistent results every time.
Ensuring accuracy with a marking knife
A marking knife is an indispensable tool for woodworkers who prioritize precision in their projects. Unlike pencils or pens, which can create wide marks that may lead to inaccuracies during cutting, a marking knife produces fine lines that are easy to follow. To use a marking knife effectively, hold it at a slight angle against the wood’s surface and draw it along your marked line with steady pressure.
This technique creates a clean groove that guides your saw or chisel during cutting. When using a marking knife, it’s essential to maintain its sharpness for optimal performance. A dull blade can lead to uneven lines and increased effort while marking.
Regularly honing or sharpening your knife will ensure that it remains effective and precise. Additionally, consider using the knife in conjunction with other tools like a combination square or marking gauge for even greater accuracy in your measurements and markings.
Using a pencil or marking pen for clear and consistent marks
While marking knives are excellent for precision work, there are times when a pencil or marking pen may be more appropriate—especially for larger projects where visibility is key. When choosing between these options, consider factors such as visibility against your wood type and how easily you can erase or remove marks later on. A fine-tip pencil works well for detailed work, while a thicker marker may be better suited for larger surfaces where visibility is crucial.
To ensure clear and consistent marks, always keep your writing instruments sharp and ready for use. A dull pencil can produce uneven lines that may lead to confusion during cutting or assembly. Additionally, practice making marks with varying pressure to see what works best for you; sometimes lighter marks are easier to follow than heavy ones.
By mastering this simple yet effective technique, you’ll find that clear markings significantly enhance your overall accuracy in woodworking.
Taking into account wood grain and texture when marking
When working with wood, it’s essential to consider its grain direction and texture when making measurements and markings. Wood grain can affect how cuts are made; cutting against the grain can lead to splintering or tearing, while cutting with it usually results in cleaner edges. Before making any cuts or marks, take a moment to observe the grain pattern of your workpiece and adjust your approach accordingly.
Additionally, different types of wood have varying textures that can impact how easily you can mark them. Softer woods like pine may accept pencil marks easily but could be prone to damage from deeper cuts made with knives or chisels. On the other hand, harder woods like oak may require more effort to mark accurately but will yield cleaner cuts if approached correctly.
By taking these factors into account during your measuring process, you’ll be better equipped to achieve precise results while minimizing potential issues.
Double-checking measurements before making cuts
One of the most critical steps in woodworking is double-checking your measurements before making any cuts. It’s easy to get caught up in the excitement of starting a project and rush through this vital step; however, taking just a few extra moments to verify your measurements can save you from costly mistakes later on. Use multiple tools—like a tape measure and combination square—to cross-reference your measurements and ensure they align perfectly.
Additionally, consider employing techniques like measuring twice and cutting once as a mantra in your workshop. This simple phrase serves as a reminder to slow down and confirm accuracy before proceeding with cuts or assembly. By developing this habit early on in your woodworking journey, you’ll cultivate an attitude of precision that will serve you well throughout all of your projects.
Using jigs and fixtures for repetitive measurements
For those who frequently engage in repetitive tasks—such as cutting multiple pieces of wood to the same length—using jigs and fixtures can greatly enhance accuracy and efficiency in measuring processes. A jig is essentially a custom-made tool designed to hold workpieces securely while guiding saws or other cutting tools along predetermined paths. By creating jigs tailored specifically for your projects, you eliminate guesswork and ensure consistent results every time.
When designing jigs or fixtures, consider factors such as material stability and ease of use during setup and breakdown processes. A well-constructed jig should allow you to quickly position workpieces without compromising accuracy or safety during operation. Additionally, don’t hesitate to experiment with different designs until you find one that works best for your specific needs; this trial-and-error approach will ultimately lead you toward greater efficiency in future projects.
Tips for maintaining and calibrating your measuring and marking tools
To ensure long-lasting accuracy in all of your measuring and marking tools, regular maintenance is essential. Start by keeping tools clean; dust and debris can accumulate over time and affect their performance significantly. Use soft cloths or brushes to wipe down surfaces regularly—especially after working with materials like wood shavings or sawdust that may cling stubbornly to tools.
Calibration is another critical aspect of maintaining accuracy in measuring instruments such as tape measures or calipers over time due to wear-and-tear effects from frequent use or exposure conditions (like humidity). Periodically check these tools against known standards (like factory specifications) so any discrepancies can be addressed promptly before they lead to inaccuracies during projects down the line. By following these tips diligently throughout each stage of woodworking—from initial measurements through final assembly—you’ll cultivate an environment where precision reigns supreme!